How To Learn Cinematography
Learning how to shoot cinematographic videos is a pretty in-depth process that requires you invest time into. There are many ways to learn this art form, but most focus more on shooting large formats or still photography as their main source of education.
By switching things up and adding new skills to your toolbox, you will be able to achieve great results!
This article will talk about some easy ways to start learning the basics of cinematic filming by doing something you already do every day. I’ll also go into some cost effective tools such as YouTube and apps that can help get you started.
So what are we going to do today? Let’s look at our next cinematic video project!
Project #2 - Re-Vamp Your Favorite Video Using Cinematic Style Filming
Article: How To Re-Film A Music Video (With Tips)
Music is one of the biggest sources of inspiration for creative people. Artists use music for motivation, pleasure, and to convey an idea or message.
If you love listening to songs with strong vocals and stories, then re-films are the perfect way to experiment. You can pick any song you want, and add some extra touches to make it feel more cinematic.
We will be taking a look at two different types of re-films, and giving tips on each one.
Take pictures

A great way to learn about cinematographic style is by taking lots of pictures! There are many ways to use photography in filmmaking, including as coverage, for establishing shots, for background plates, and as closer shots.
Having a camera with you at all times is very helpful when learning how to light effectively and being able to take good, quality photos is an excellent skill to have. Many professional filmmakers start from taking simple picture shoots and then moving up through different levels of filming.
There are so many things that can be done with photographs in film-making, such as creating cool silhouettes or interesting patterns, using textures, finding new uses for them, etc. The possibilities are endless!
General tips before shooting: make sure your settings are correct (white balance, shutter speed, aperture), use natural sunlight if possible, and hold your camera still while taking pictures! These basics will help ensure better quality photos.
Create lighting setups
A light source does not have to be natural or internal, as we discussed before! There are many ways to add artificial lights to your shots.
Many cinematographers begin their careers by learning how to use external light sources such as lamps, flash units, and large softboxes. By adding light to the scene in this way, it is typically limited to only illuminating what is in the frame of the camera.
By including additional light beyond the boundaries of the camera’s sensor, photoshopping the image later is more feasible. This can include using an off-camera flash to bounce the light onto another part of the frame or creating a silhouette with the light.
Photoshop is a powerful tool that most people don’t learn until much later in their career. It is very easy to start experimenting in those programs if you are ever given the chance.
Practice filming
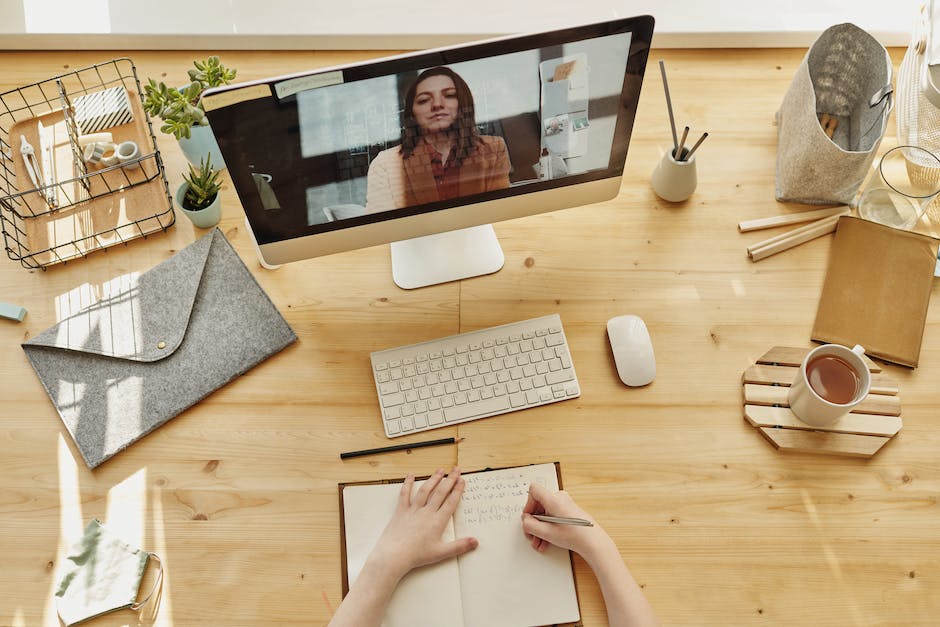
A great way to learn cinematography is by practicing shooting. There are many ways to do this! You can take self-shot videos or ones with a camera you have access to.
You can use your own equipment to film, such as your smartphone or an old digital camera. Filming in nature is another good option, especially if you live close to forests or mountains.
Many people start off filming just for fun and then eventually pick some of these practices to hone their craft. The best way to determine how advanced you are as a filmmaker is to study what other filmmakers have done.
There are several websites and communities where you can find and contribute to learning materials such as blogs, YouTube videos, and forums.
Practice editing

One of the most important skills that great cinematographers have is their ability to edit. Beyond learning how to apply gaffer’s tape properly, or using a tripod for the first time, there are many other ways to take your hand-held shooting to the next level.
The term “editing” can be confusing. Technically speaking, it means taking something good and making it better. But in filmmaking, where every second counts, people usually associate the word with cutting away (or not showing) parts of the movie so that you don’t see too much and lose momentum.
That’s why advanced filmmakers use the term “cutting down,” instead. Because beyond choosing what to leave out, they also know how to add new pieces to give the story more depth. They do this by either incorporating extra shots or reworking existing ones.
And while some people learn these tricks from direct supervision, most get helpful lessons along the way. You might find yourself doing an adequate job at one stage and then someone else comes in and does it even better.
This person may ask you about certain bits of coverage or staging and suggest alternative ways to capture the same thing. Or maybe they just pick up on things like timing and rhythm and show you how to use those effectively. Either way, continue studying whatever style they use because everyone has different strengths.
Become familiar with all the different camera angles

A key part of cinematography is knowing what every angle is and how to use them. There are eight main camera shots in most films, and sometimes combinations of several together!
The wide-angle shot is one where you get a whole lot of content in the frame, making it feel expansive. This can be used for establishing settings or showing large spaces, or even just because it looks cool.
The long focus (or tight) lens shot comes very close to its counterpart, the short focus (or distant) lens, but instead of being completely focused, there is a background blur that gives an effect similar to looking through a telescope.
The overhead shot gets rid of any foreground element by shooting from directly above, creating a unique perspective.
The vertical panorama takes place over many frames, giving the illusion of depth.
And lastly, the reverse horizontal panorama creates the same feeling as vertical panorama, only horizontally.
Learn to use different lenses

A lens is the tool that photographers use to focus light onto a surface or camera sensor, so it makes sense to learn what each one does! There are many types of lenses in cinematographic photography, with some serving specific purposes.
A wide-angle lens will compress vertical distances (in films, this compresses height) while also widening horizontal angles. This creates an illusion of space by making everything look closer together.
A normal perspective lens removes this effect by increasing the distance between objects. A long telephoto lens takes advantage of its length to create a more dramatic appeal by reducing the size of the subject. All three of these work well for creating effects such as sweeping backdrops and establishing intimate settings.
A standard lens is just like your current camera’s average zoom setting; it gets you away from having to buy new equipment as quickly. Many professional cinematographers have several standard lenses because they find them helpful in various situations.
There are also specialty lenses that do not fit into any other category, like the fish eye lens or the fisheye lens. Both distort the shape of the image and can add interesting touches to your photos.
Learn to use different lighting setups
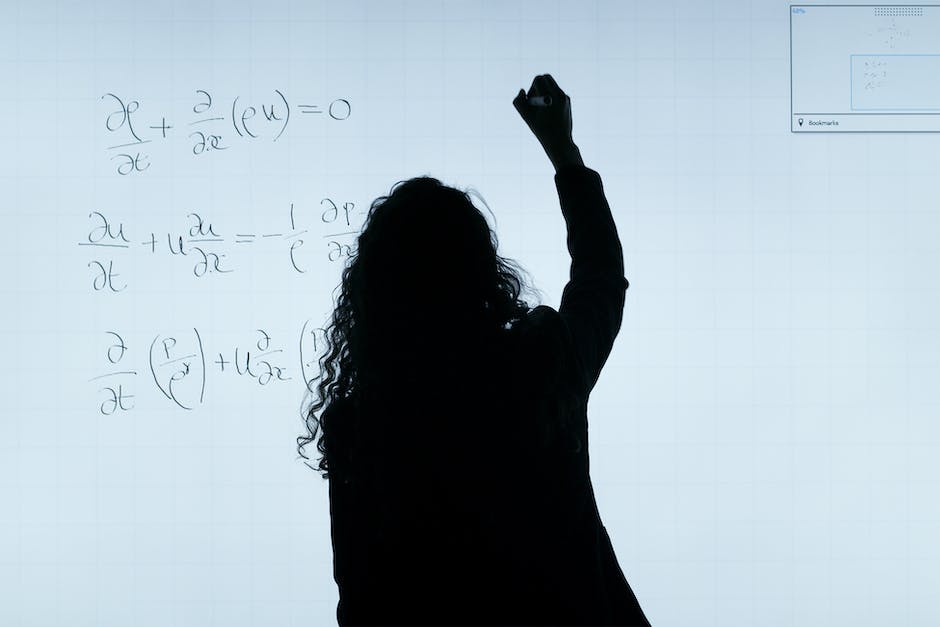
The second way to learn how to light for cinematography is by learning your tools! There are many ways to achieve great lights, you just need to find out what works best in various scenarios.
The most basic way to do this is to test out each tool on something simple first. A easy way to do this is to take some old photos that you have already edited with other editing software and switch up the light source or shape of the light!
By doing this, you will probably gain new insights into which types of lights work better on certain pictures and why.
Learn to use different camera locations
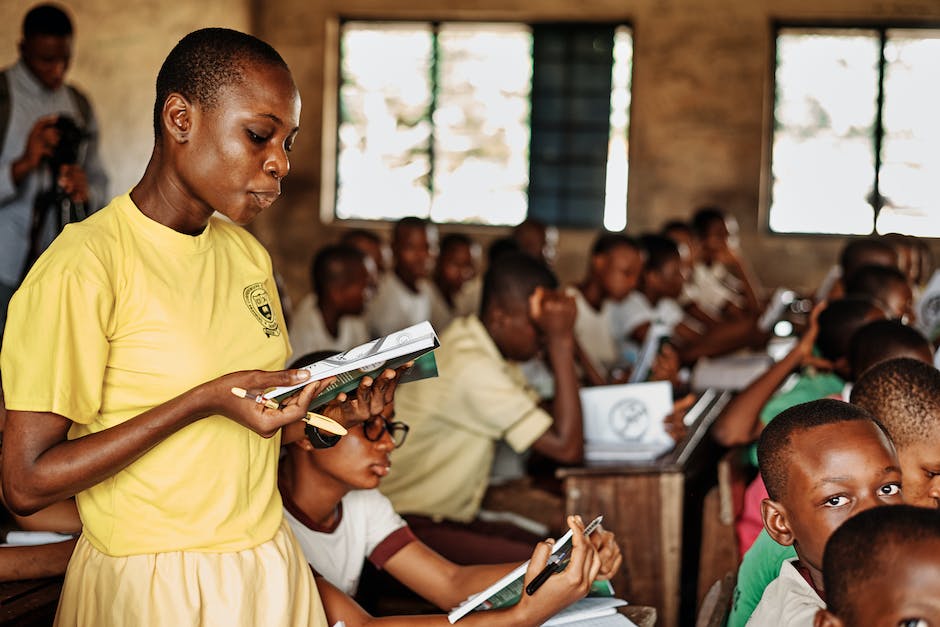
A very important part of cinematography is learning how to use different camera positions. There are eight main types of shots that depend on what position you put your camera in. These include close up, medium distance, long distance, panning, overhead, vertical, horizontal, and tunnel or reverse angle.
To give an example, a medium shot is when the camera is settled at a middle height between low and high-angle lenses. This creates a perspective for the audience to get a sense of depth from the subject. For instance, if the film was about people, then a person can be in front of a window and the camera can be a medium shot so that the viewer gets the feeling that they are looking through the glass and seeing outside.
This would work well for showing someone walking down the street or going into a building. The length of the exposure makes the picture take longer than just having the camera stay still, which adds some dramatic effect.
In filmmaking, there are always rules to break! When breaking these rules, you will have to figure out which ones are more important to keep track of as you shoot. Some examples of breaking the rule of no moving cameras are using handheld filming, moving the camera along a line (for example, traveling with a car), and changing angles and proportions of the frame.
These all contribute to creating unique pictures that tell a story.