Lighting In Cinematography - Dos And Don'ts
When it comes to lighting for cinematography, there are many different ways to do things. Some like to use very strong lights, some prefer soft glows, and others strive to create silhouettes or darkness. It is your job as a light artist to find what works best for each shot and mix them together to make beautiful images!
There are two main reasons why people choose certain types of light when filming. The first is artistic expression. As mentioned before, every film has different styles that can be identified by how light is used. A filmmaker may choose strong illumination to emphasize a concept, soft natural light to evoke feelings, or complete dark to convey mystery.
The second reason is practical. Certain effects such as glowing screens require heavy illumination, while other effects such as silhouette work better in darker settings. There are several tools you can add into your tool box to achieve these looks! This article will go over some basic concepts about light and how to apply them in your career.
Types of light

There are two main types of light used in cinematography: natural sunlight, and artificial light. When shooting under natural sunlight, they refer to it as direct sun lighting.
When using artificial lights, there are three more names that describe what kind of light is being used: hard light, soft light, and ambient light.
Hard light is similar to direct sunlight, but instead of coming from the sky, it comes directly from an external source such as a lamp or flash. An example of hard light would be when you turn on a flashlight right next to your face for filming.
Soft light does not fully illuminate everything completely, like normal light does. It creates a softer effect than strong light. A common use of soft light is creating shadows by holding an object up close against a background feature. For instance, if there was a wall behind someone, then putting them closer towards the edge of the wall will create a shadow.
Ambient light doesn’t contain any other light sources, so whatever light is already present in the area can be used to help illuminate something. Using white paper as a background with people standing next to each other works very well in ambient light.
There are some things that cannot easily use ambient light, however. If there is glass or metal involved, the light could cause reflections which may look poor quality or distracting. In cases like this, hard or indirect light must be used.
Diffusion and reflectivity of surfaces

A surface that is darker than its surroundings typically does not affect the look of a shot too much, as most of the light that hits it gets scattered or reflected off into space. If there are no lights in the scene, though, this effect can be noticeable.
This is called diffusion, and it’s what gives dark scenes their moody feel. It creates an overall sense of gloom by washing out the brightness of the surface.
Reflective surfaces, like windows, cars, and other bodies of water, do more than just wash out the darkness, they give your image color depending on how bright they are compared to the rest of the frame.
These colors add depth to the picture and make the setting come to life.
Position of light sources
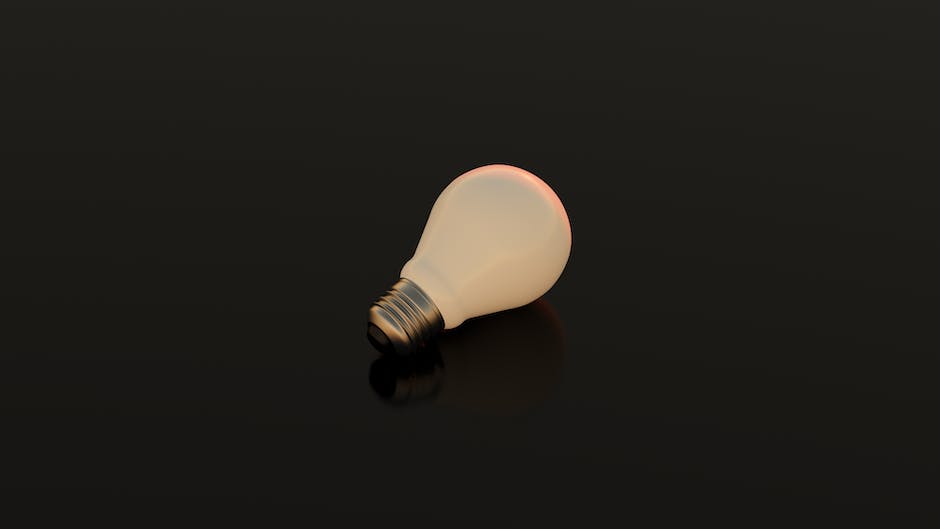
When creating lighting for your film, you will want to consider where each light is positioned. There are two main reasons to do this!
First, it changes how the light looks. For example, if your light source is behind the subject then it creates a very bright area under the lamp as well as a more defined shadow. This effect can be used negatively or positively, depending on what look you desire for the shot.
Second, moving the lights around alters the overall balance of shadows and sunlight that are present in the scene. Changing the exposure (how much light there is) is one way to achieve this, but moving the lights is an easier solution.
There are several different ways to approach this. You could move the lamps across the set, away from the camera, add more bulbs or remove some, shift them up or down, or even hold a bulb close to the surface to create indirect natural light.
All of these effects depend on the angle of the light being altered. The closer the light is to the camera, the darker the face becomes- which sometimes is not wanted! Shifting the light parallel to the surface shifts the tone slightly brighter, while perpendicular angles have the opposite affect.
This article will talk about some easy ways to position your lights.
Color of light
The color of light is one of the most powerful tools in cinematographic lighting. There are many ways to use it effectively!
Color can be added or removed from an image or sequence by using neutral gels, filters, or bulbs. Filters such as diffusion panels and softboxes often have colored gel sheets that you can add or remove to shift the color of the light.
Using different types of lights with various colors can create some very interesting silhouettes and photogenic shapes. For example, using two equal strength tungsten lights could make an almost circle shape silhouette. By adding more white light, you could emphasize the roundness of the body being photographed.
Removing red light, for instance by placing several blue gel panes in front of the light source, would result in bluish shadows. This effect can look cool, but not always. You would need to test out what looks best for your shot before going into expensive additional settings.
There are also products like Photofloods which produce extremely bright flashes of white light. These are typically used in close-up shots where the intensity of the flash compensates for the lack of ambient light.
Shape and size of the light

The next key factor in lighting is the shape and size of your lights. Lights that are closer to you give off more bright, warmer rays than ones that are farther away. This can be done by having them or switching out bulbs or using tungsten bulbs instead of fluorescent.
Light shapes include cone-shaped, square, circle, and pinhole (no diameter) lights. Depending on what effect you want, you should know which one will work best for you!
Conical lights take longer to burn down but create very beautiful shadows, making it look like there is darkness surrounding anything they illuminate. These types of lights are great for creating depth and emphasizing this feeling of darkness.
There are also strobes, which use flashes to create lightning flashes for extra intensity.
Lighting equipment
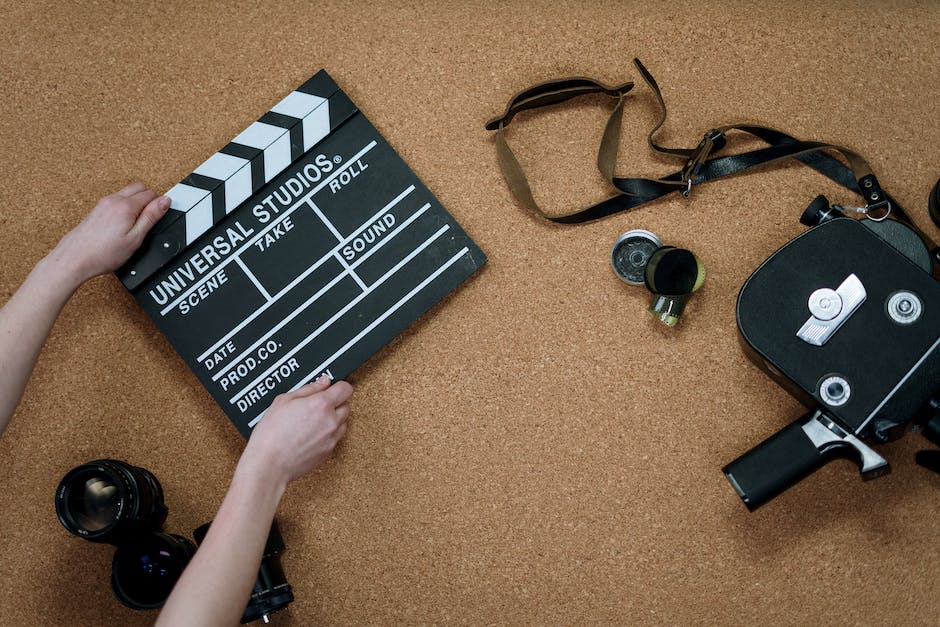
A light is anything that can be used to illuminate something else. Lights come in many forms, but they all work by either being absorbed into or reflected back from what you want to light up.
Camera lenses are one of the most important pieces of lighting equipment. Almost every effect needed for filming requires at least some amount of lens illumination. During filming, professional cinematographers use large, powerful lights to create these effects.
These types of lights usually have bulbs that burn very hot, making them brighter. These bright bulbs are then directed towards a surface, such as a wall, floor, or object, to produce the desired effect.
Batteries are an essential part of almost any camera, so typically these lights have built-in batteries. The length of time the battery will keep shining depends on how much power it receives electricity from the bulb.
Cameras also have shutter glasses or lids that cover the front element. This covers the glass that bends light before it gets exposed onto the sensor, which would cause blurring. These lids are opened and closed using a lever or handle located next to the lens.
Ways to light a scene
A way to create strong shadows is by using sources that are directly opposite of the sun. For example, if there is direct sunlight, then you would need an additional source of light to have some dark areas in your photograph.
These sources can be natural or artificial - for instance, passing cars with their headlights on or large windows. It does not matter whether it is day or night, so long as you have control over the light!
Another way to do this is use flash. Although very popular, flashes cannot be considered completely neutral. They usually look more blue than white, which changes how the photo looks.
When taking photos outside, make sure to fully understand the lighting theory before shooting.
Learning to light
As we mentioned before, lighting is one of the most important parts of cinematography. It can totally change the feel of your film!
The way you light an area or person heavily affects what viewers perceive of them. For example, when someone is having a conversation, some lights might be coming from their sides, while other lights are drawn closer for emphasis.
For this reason, it’s very important to know how to use different types of lighting. And not just any type of lighting, but good quality, effective lighting.
There are several ways to learn how to light, such as by experimenting with natural light, creating basic shadows, using general rules of photography, and studying still life photos and nature.
But once you have mastered the basics of lighting, there are two more advanced concepts that you should know about. These are keylighting and backlighting.
Keylighting
A little bit about keylightings first. A keylight comes directly from the source (for instance, a strong lamp) and then something else receives a slight boost (a diffuser panel like tissue paper or black plastic). This second item usually has a reflective surface like a mirror, a bright bead lens, or white foam.
By adding these reflections, the keylight becomes less powerful and more spread out. This creates softer, warmer light. Keylights are often used for setting off another object or illuminating someone’s face.